
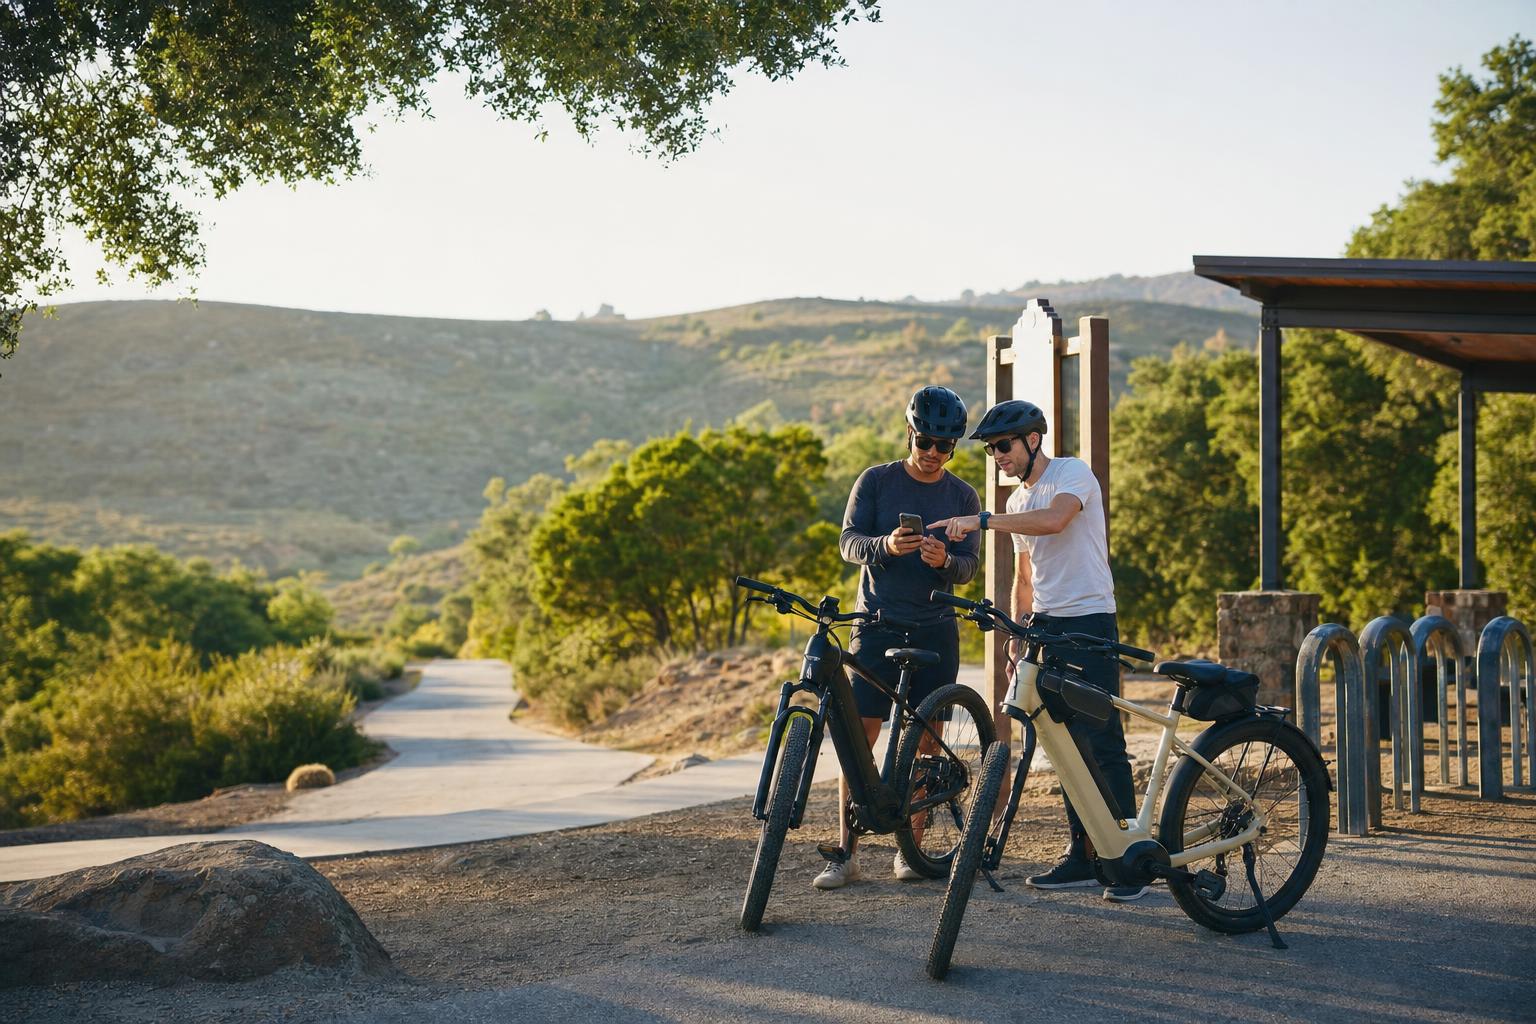
The attractive thing about an e-bike adventure is reach. A group can connect viewpoints, neighborhoods, waterfronts, parks, or cultural stops that would make a walking route feel stretched. That wider frame can make a story more interesting—but only if the route stays legible and realistic.
The mistake is treating the motor assist as permission to stack extra stops until the outing becomes a range calculation with a few clues taped on. A stronger route uses the extra reach to create contrast: one clear starting point, a landmark jump, a quieter discovery stop, a comfortable regroup, and a finish worth arriving at.
- Use three to six stops with a reason to exist; distance is not a story beat.
- Design the base loop for ordinary riders, not the fittest person in the group.
- Make a longer or hillier extension optional instead of turning the core experience into a battery gamble.
E-bike permission is not a universal yes. It can change by park, trail, road, e-bike class, and local manager. California State Parks, for example, says e-bike access in its park units depends on the specific location and designation; many trails are closed unless use is expressly allowed. That is exactly why a route designer needs to verify the current rule for every proposed segment instead of assuming that a trail open to bicycles automatically works for every e-bike.
Build the route around confirmed, allowed travel surfaces. Then state the expected bike type, rental-provider rules, age requirements, and local restrictions plainly in the route briefing. Rules and closures change; a good route includes a pre-launch check rather than burying the issue in a footnote.
- Verify the e-bike class and trail permission with the managing agency for the specific route.
- Check rental, helmet, age, and group-size rules if a partner provides the bikes.
- Do not send riders into a closed, muddy, or unsuitable trail just because it makes the map look more adventurous.
E-bike routes need more than a destination pin. At every chapter, riders need a place to get fully out of the travel flow, park or lock the bike appropriately, regroup, and interact with the experience. The story prompt should appear after that move—not while people are trying to brake, avoid pedestrians, or decide where to put an expensive rental.
For Pathventure, the useful rhythm is: complete a safe checkpoint, open a maps handoff for the next leg, ride, stop and secure the bike, confirm arrival, then reveal the next prompt. GPS arrival helps confirm the intended place; it does not replace judgment about whether the group has actually stopped safely.
- Record the exact legal stopping or bike-parking point for every checkpoint.
- Put QR scans, photos, clues, and audio moments at the stop zone—not on a path, road shoulder, or crossing.
- Include water, restrooms, shade, and a realistic regroup plan for longer routes.
A route should never rely on every rider arriving with the same battery, fitness, confidence, tire pressure, or comfort on hills. Range changes with assistance level, rider weight, grade, surface, weather, cargo, and battery condition. Your job is not to predict every variable perfectly. It is to avoid designing a route that leaves no margin for normal variation.
Plan the core loop with a generous margin, state expected distance and elevation, and know where the group can pause or return if something changes. If charging is part of the plan, confirm that it is permitted and practically available; do not treat a random wall outlet as infrastructure.
- Give the group a shorter exit or return path before the route's most remote leg.
- Treat steep grades, loose surfaces, heat, rain, and headwinds as route-design inputs, not surprises.
- Use a staffed or easy-to-reach regroup point as the mid-route recovery option.
A route can be technically allowed and still be poorly designed. Shared paths, trailheads, sensitive areas, and busy waterfronts require slow, predictable movement and a willingness to yield. California State Parks advises users to stay on designated trails, control speed, yield appropriately, and check conditions because rain and other changes can close access quickly.
That makes the story structure better, not worse. A deliberate pause at a lawful, uncrowded stop gives the group a more memorable moment than a frantic interaction squeezed into a congested path.
- Do not make a busy shared trail the place where participants must gather around a screen.
- Avoid sensitive habitat, private property, and businesses unless access and group behavior are clearly appropriate.
- Write a closure, weather, and crowding fallback before the route goes live.
A clean first version does not need clever machinery. It needs a story that gives each stop a role and a route that treats riders like people rather than tokens on a map.
- Start: fit check, local-rule reminder, route briefing, and an easy first prompt.
- Chapter 2: a landmark or viewpoint that rewards the first leg.
- Chapter 3: a quieter detail that changes how the group reads the place.
- Regroup: water, shade, restrooms, or a partner stop with clear bike parking.
- Finish: an obvious, legal, low-stress place to secure bikes and close the story.