
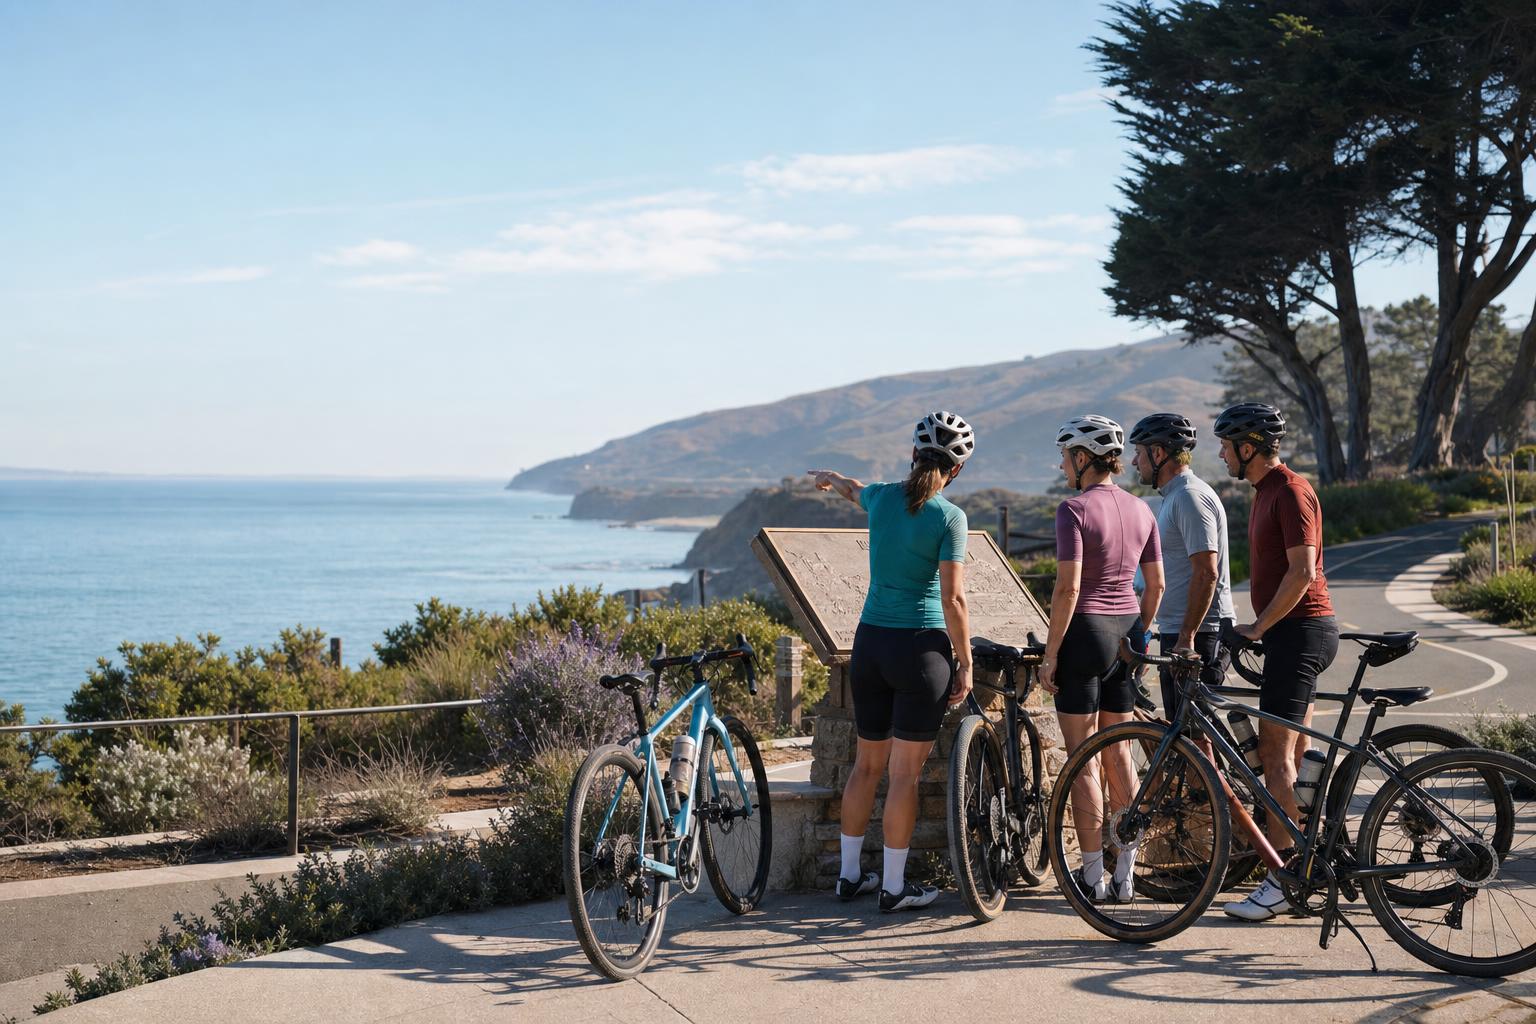
Most weak bike-route ideas begin with a line on a map and try to sprinkle activities along it afterward. That reverses the interesting part. A stronger route starts with three to six places that are genuinely worth pausing at, then builds a realistic ride between them.
Each stop should change the experience: a waterfront reveal, a piece of local history, an overlook, a public-art detail, a trailhead, a shared rest point, or a final place that makes the earlier chapters click. The ride is not filler, but it does not need to carry the entire story by itself.
- Choose fewer stops with a clear emotional or narrative difference between them.
- State distance, surface, elevation, weather exposure, and rider fit honestly before anyone starts.
- Build a clean start, one or two intentional regroup points, and an ending that feels like a finish rather than the route simply running out.
This is the rule that separates a good bike adventure from a reckless one. A Pathventure checkpoint should only ask a rider to read, scan, photograph, answer, or listen after they have reached a place where they can safely pull over and stop.
FHWA bicycle-safety guidance specifically warns that signs requiring people to stop and read should not sit at or near intersections and instead belong where cyclists can stop, such as tables or water fountains. That is a useful standard for digital prompts too: the interaction belongs at the rest point, not in the decision point.
- Never place a required interaction in a travel lane, near an active crossing, or on a narrow shared path.
- For every checkpoint, identify the exact pull-over, bike rack, trailhead, plaza edge, or other stop zone before publishing it.
- If the group needs to look at directions, do it before leaving the previous stop; the map handoff is the transition, not the activity while moving.
A route can be beautiful and still be wrong for the group. Before you write a clue, test whether the intended riders can comfortably handle the route's distance, grade, crossings, traffic exposure, surface, daylight window, water access, and repair options.
NHTSA recommends planning routes with less traffic and slower speeds when people must ride on roads, and using bike lanes or paths where available. California State Parks also advises riders to understand trail difficulty, water availability, and the other users they may encounter before starting. Those are not legal fine print; they are part of whether the adventure feels welcoming or stressful.
- Use a conservative distance and pace for a first public run.
- Make the harder extension optional rather than quietly treating it as part of the base experience.
- Give riders a clear no-shame exit point, a rest/water plan, and a weather or closure alternative.
A self-guided bike experience needs both orientation and momentum. Pathventure can introduce the next chapter, hand the rider into their preferred maps app for the leg, and use an arrival-aware checkpoint to confirm they made it to the intended place. That keeps the product focused on the experience rather than pretending to replace dedicated navigation.
The clean player rhythm is simple: finish a safe stop, understand why the next location matters, open directions before moving, ride the leg, park or secure the bike, then unlock the next checkpoint. It is calmer for the rider and dramatically easier for an organizer to support.
- Use GPS arrival for a broad, public location where the stop itself is clear.
- Use QR, a code word, a photo, or a quick quiz only after the rider is fully stopped.
- Provide an organizer fallback when poor signal, a closure, or a crowded stop makes automatic completion unreasonable.
For many parks, waterfront districts, beach paths, and compact destination areas, a five-stop loop is enough. It gives the experience a beginning, middle, and payoff without turning the day into an endurance test.
- Start: a safe gathering point for the route briefing and first story beat.
- Stop 2: an easy early win that proves the flow works before riders spread out.
- Stop 3: the scenic or historical discovery moment.
- Stop 4: a water, restroom, café, or staffed regroup point with a useful fallback role.
- Finish: an obvious place to park, celebrate, and close the story cleanly.
Ride the actual route at the time and day you plan to run it. Check construction, parking, trail conditions, opening hours, crowding, signal, shade, bathrooms, and whether the checkpoint still makes sense from a moving rider's point of view. A route that works perfectly on a quiet Tuesday morning can become nonsense during a festival, school dismissal, or heat wave.
NHTSA also advises riders to stay alert and avoid distractions such as texting or listening to music that takes attention away from traffic. Put that principle into the route design itself: no essential prompt should compete with the rider's awareness of the road or trail.
- Rewalk or reride the route close to the event date.
- Write a skip instruction for every fragile stop before anything goes live.
- Tell participants what the route does not provide: it is not traffic-aware navigation, and conditions can change in the real world.